How to Make a Business Website Without WordPress
Looking for an easy solution for how to make a business website? Here at HerPaperRoute, I often share advice on how you can create your own website using WordPress. And I also offer a service where I will build your WP website for you, for less than $100!.
Both of those options are manageable and don’t require any coding or tech skills. But it does require a bit of effort from you afterward, to maintain and upkeep your WordPress site.
As an affiliate partner of various brands and sponsored content, HerPaperRoute may earn commission on qualifying purchases. Disclaimer | Advertise With Us
I offer a WordPress course to help you along the way, and provide tech support. And most people enjoy learning WordPress so they can have control over their business site.
But I also know that not everyone wants to manage WordPress themselves. Some people would prefer an even more simplified solution where they can have a website that requires no additional effort and truly be hands-free.
So that is what we are talking about in today’s article. How you can make a business website using a website builder tool.
Most website builders use simple ready-made templates and drag-and-drop interfaces that let you include various elements.
You will end up paying a bit more to have a monthly subscription to a builder (rather than free, as WordPress is free included with your hosting). But, it may save you time in the long run, if you aren’t interested in DIYing a WordPress site. The website builder we are exploring today is called uKit.
How to Make a Business Website in 5 Simple Steps
The first thing you notice when trying uKit is how easy it is to use. Everything the platform provides is intended to help users of all skill levels craft good-looking and functional websites, quickly and painlessly.
You don’t have to start from a blank slate. You can achieve good looking results in no time due to a clear and simple editor interface, gorgeous designs, and integrated e-commerce and different marketing capabilities.
1. Sign Up and Select a Template
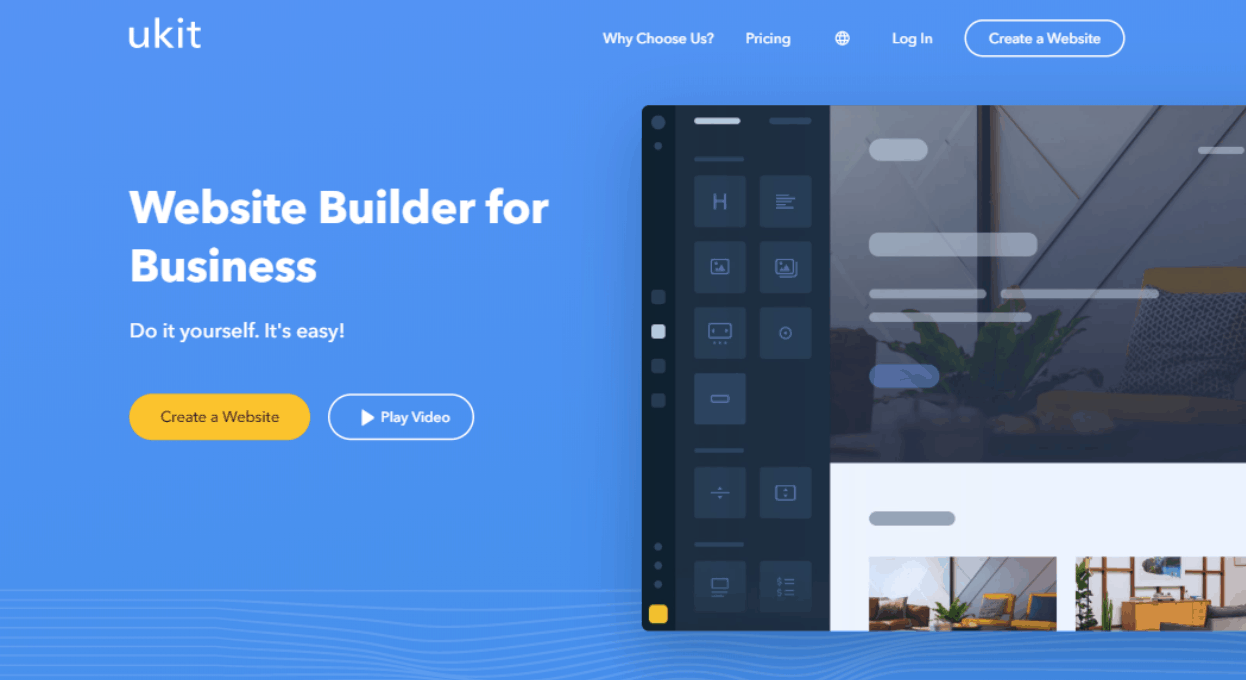
To start a website on uKit, go to the uKit official page and click on the ‘create a website’ button. You sign up (it can be done either with your email or social media account) and jump right into selecting a template.
Initially, there are over 300 designs to choose from, plus a blank template if you want to build your site from scratch and don’t need any hints.
All the designs are split into themed categories: cafes, farming, automotive, health and medical care, music, and so on — over 30 categories in total as well as a set of multi-purpose designs, one-pagers, and premium ones.
Premium designs are available for just $20 and can be bought separately from a subscription plan.
Moreover, whichever your plan is, the purchased design can be used for an unlimited number of websites within your account. You will also have unlimited access to any of the premium designs if you are a Basic, eCommerce or Pro subscriber.
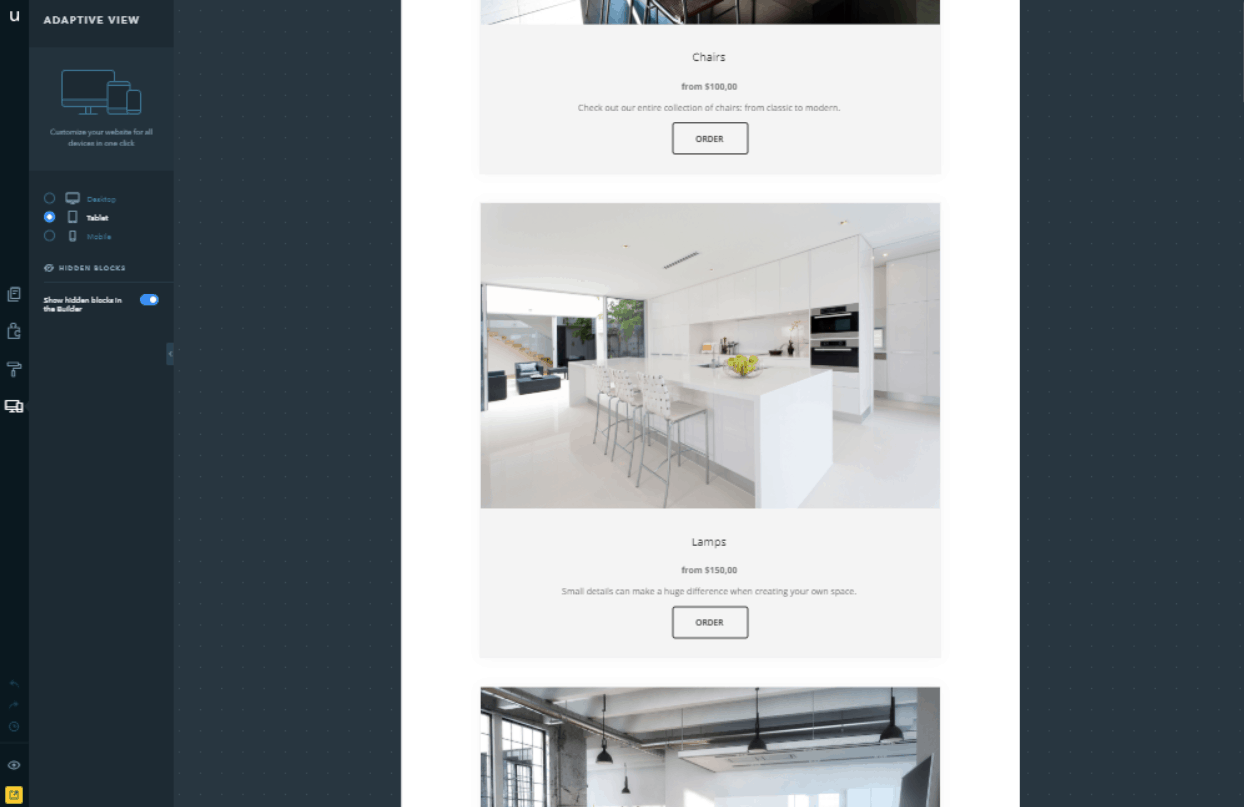
On top of that, all the templates are completely responsive and adjust to display of any size (PC, laptop, tablet, or phone).
Then a domain name comes: you can opt for the default domain mysite.ukit.me or ante up some money to get a custom one. In addition, you can also create plenty of subdomains to organize and navigate to different sections of your website.
Anyway, it’s optional and can be configured anytime, even when your site is ready for publishing and afterward.
Once you’ve finished all this signing up thing, you are directed to the editor page.
2. Update Content
The editor page is the workshop of your website: there you shape, paint and put the finishing touches.
Shaping website is about customizing its content. The interface is wieldy so you will have no trouble figuring out where everything is.
You don’t need to be finicky about formatting and placement as well – when you move an element into position, it automatically snaps into place, perfectly aligned. What you see in the builder is what you get on the website. Easy, isn’t it?
uKit doesn’t offer any bells and whistles, but the features (and the templates) it does offer fit the needs of many small and medium-sized businesses. – Howard Steele, SuperbWebsiteBuilders
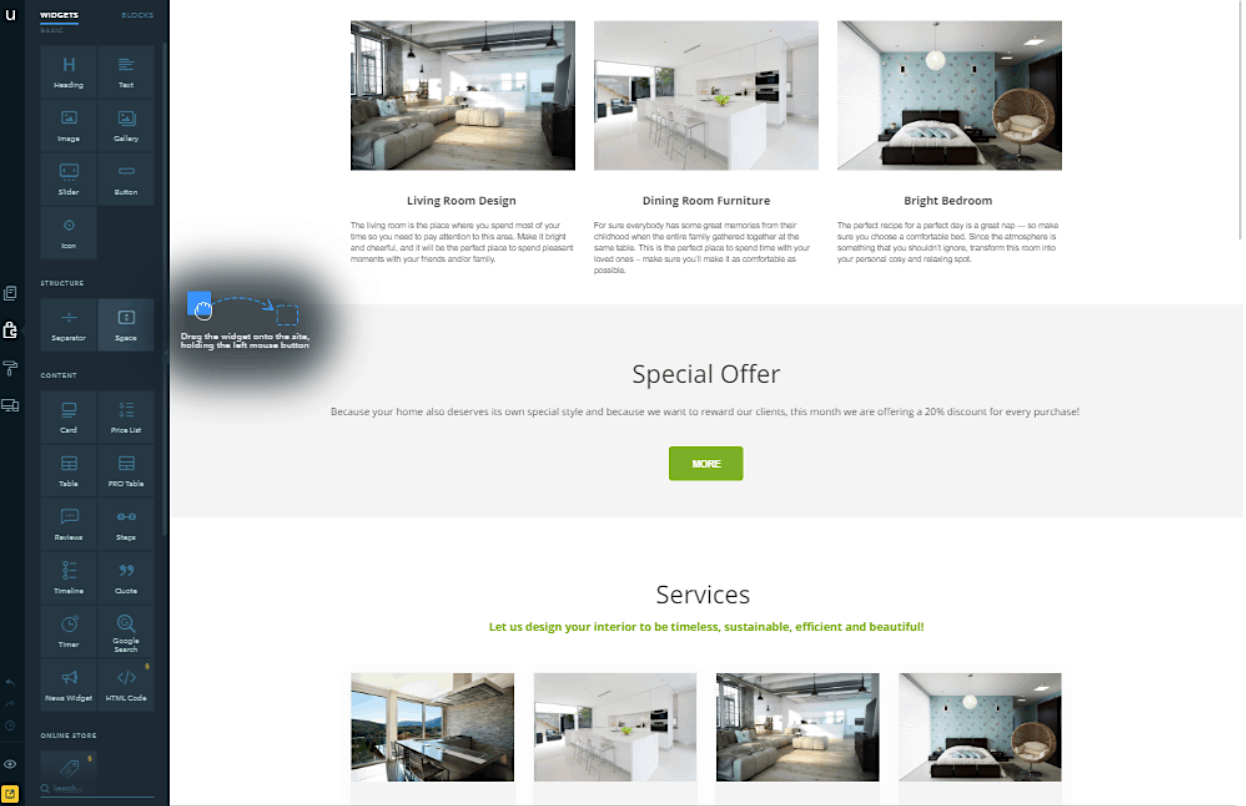
All the functional elements and pre-set blocks can be found on the sidebar on the left. The blocks are already compiled from widgets and prepared for different purposes.
So if you see the one that suits yours, you can take it and spend even less time on creating a website.
If not, you can place and combine them yourself. For your convenience, all the widgets are grouped into categories with each having its settings. Whatever you do: add, delete or change — you can preview it.
Besides, you can create backup copies of your site at any stage, and it’s better to do it before making any considerable changes.
uKit offers two backup modes: automatic and manual (you can create up to 10 manual backups). The system creates a weekly backup of your entire website.
If no changes have been made to the website, there’s no copy then.
Another thing concerning your site’s safety is an SSL certificate that is automatically enabled for all uKit websites that have a custom domain name.
This feature is essential for those who run an online store and is recommended for everyone in general because it increases your search engine ranking.
3. Add Extra Functionality to Your Site
Apart from native solutions, uKit also provides access to some external services. For example, for promoting your website you can insert all the basic SEO functions, such as editing meta titles and descriptions, customizing URLs, and adding alt text to images. As well as enable Google Analytics, connect Google Tag Manager, set up a Facebook Pixel, connect SendPulse.
Ecwid, an online platform for creating an online store and integrating it with the existing website or social media page, may come in handy for online store owners and can be set up on your uKit website in a few easy steps.
Another tool, extremely efficient for everyone, is Share and Like buttons that are in the Social widget section and is based on an external service — uSocial.
What bloggers (or those who run any other type of a personal website) will like beside other fantastic options is the integration of their site with the Disqus platform to enable comments.
4. Customize Your Website Design
Now, when the shaping work is done, it’s time to go to the design. Within the styling option, each template has several color palettes that you can choose and make slight changes to.
To get total control over the color schemes, you will have to buy or upgrade your current plan to Pro.
In the Design mode, you can manage such elements of the site as background, fonts, and colors. You can also activate or deactivate the header, footer, “Back to top” button and site version for visually impaired.
It will take ages to name all the features of the uKit website builder! And if you just get stuck anywhere, the uKit knowledge base can answer a lot of questions through clear illustrated tutorials and step-by-step guides.
uKit website builder was designed as a simple tool for beginners who want to build a site without hiring professional web designers and programmers. The platform implements the latest technologies to put ease on the building process. – uKit Review at MMThomasblog.com
It is also worth mentioning that, the uKit support team is very responsive: just send them an email or use the live chat.
5. Publish Your uKit Website
And here we are. The website is ready for publishing. But after the final preview, you may feel that the design doesn’t fit. Don’t worry and simply change it — its content will be preserved.
Now, when the finishing touches are added, you can click on Publish.
P.S: since the uKit website builder was developed for businesses and because of its top-notch functionality, it comes at a price. That being said, you have to choose from 4 plans but there’s a 14-day trial period, which is completely free.
This is your chance to get to know the editing interface and judge for yourself how easy and/or difficult its various features are. Good luck with your website project!
More Resources For Your Website
- How To Sell Your Blog For 6 Figures
- How To Fix Tanking Traffic
- Beautiful, Feminine WordPress Themes
- How To Protect Your Affiliate Commissions
Follow along on Instagram!


