How To Make A Professional Screencast For Your Blog

How To Make A Professional Screencast For Your Blog. You’ve probably seen a blog post that incorporates a screencast video at some point and wondered how to make one.
If your blog is in a niche that allows you to make tutorials and walkthroughs, you may want to consider including screencasts.
As an affiliate partner of various brands and sponsored content, HerPaperRoute may earn commission on qualifying purchases. Disclaimer
How To Make A Professional Screencast For Your Blog
Making your own screencast is a great way to keep people on your blog, because you can direct all the traffic to yourself instead of someone else’s video.
Practice Before Recording
The first step in learning how to make a professional screencast is to practice before starting the actual recording. Record yourself showing the steps and talking in the instructions.
Playback the recording and see if you have missed something in the screencast. Keep making changes in the next screencast until you feel you are ready to do the actual recording.
You can also write a script and read from it. When writing a script, don’t write it in a straightforward monotonous way, instead, write with a conversational style, so that people will not be aware that you are reading from a script.
Easy tool for creating screencasts online: Find out what it is here!
Tidy Up Your Desktop
When you feel confident, don’t rush into recording just yet. Check your desktop and see if everything is in the order it should be.
Clear up all the folders/files and extraneous windows that are irrelevant to the screencast on the desktop.
Check all the toolbars on your desktop, such as the taskbar and sidebars and make sure all programs that can release notifications are closed.
Make Sure the Microphone is in a Fixed Position
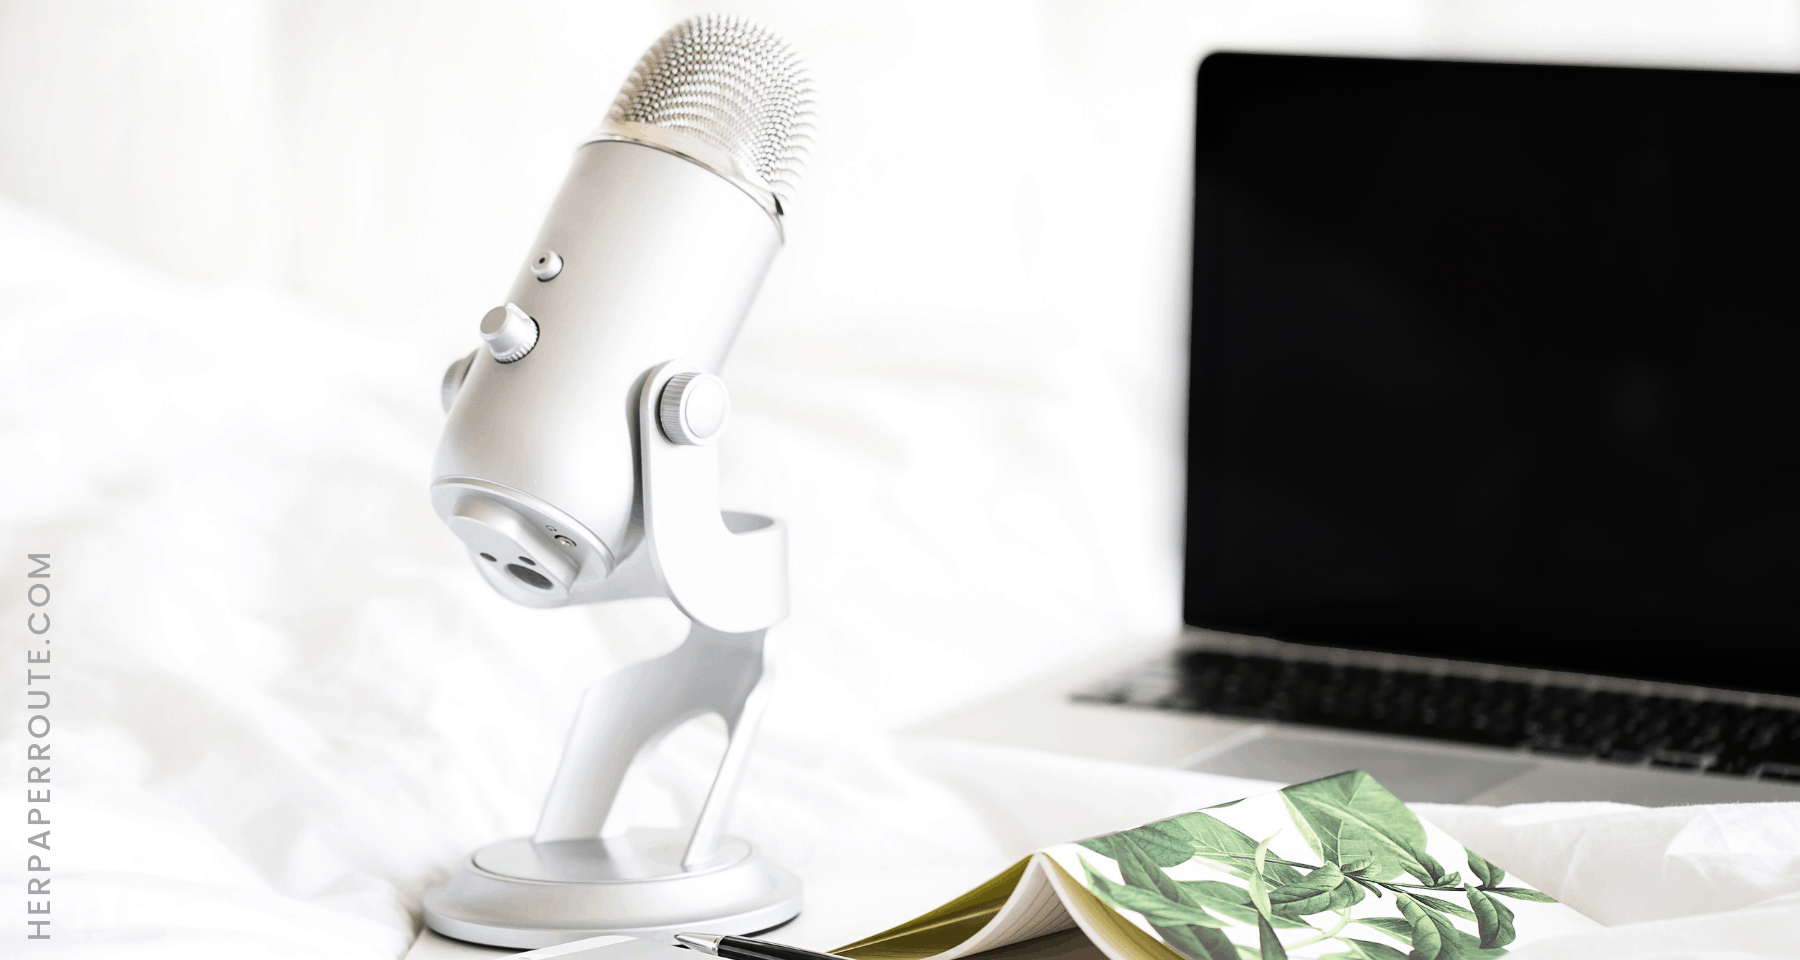
The microphone should stay in a fixed position. You can install a holder that will fix the microphone to your monitor.
When you are recording the screencast, you could accidentally move the microphone. If the microphone moves, the distance to your mouth will change which results in the volume level changes.
Choose a Recording Tool
You can use the free Quicktime app for desktop. It will record your screen easily. Or use Screencast-O-Matic.
Record Only in the Dimension You Need
Dimension is one of the factors that determine the screencast size. To reduce the screencast size, record only in the dimension that you want to share with people.
For example, if you intend to share the video in 640×480 on YouTube, then record it in the 640×480 resolution. The screencast should also be set to output in the same resolution, otherwise black bars will appear.
Avoid Multitasking During Recording
During recording, you should avoid multitasking and refrain from opening multiple tabs.
Instead, open one tab at a time, when you want to use it. If you open multiple tabs, the browser will look messy.
You may mistakenly click on the wrong tab and move its position. Or, you may accidentally click on the x button and quit the tab while moving the cursor around in the tutorial.
Instead, just memorize all the steps you need to show and the tabs that you need to open in the tutorial.
Record in a Room that is Quiet
The room where you record should not have an echo. Ideally, the room is located far away from any major noise source, for ex,ample a noisy basement.
If you can, you should conduct the recording in a soundproof room where the walls are insulated with soundproof materials. Some people do the recording in their cars with the windows shut and the air conditioner turned on for a quiet recording.
Add Highlighting And Sound Effects To The Mouse Cursor
If you are making a tutorial, don’t forget to activate the mouse highlighter so that a circle will appear on the cursor.
You can also activate the mouse click sound. When people watch the screencast, they usually only see the big items on the screen such as the browser window.
They may not be aware that there is a mouse cursor as the cursor is small. Therefore, to help them to notice the cursor, you should highlight it and add the clicking sound effect when you are clicking something.
Keep the Conversation Flowing
When talking on the microphone, you are likely to make mistakes, such as pronouncing a word wrong or saying the wrong word.
When this happens, just keep talking and keep the conversation flowing because you can trim out the part with a video editor afterward.
When recording your voiceover, don’t look at the microphone or touch the microphone head. Instead, look at the webcam. Think of the webcam as a person whom you are having a conversation with.
Edit Your Screencast
Finally, playback your video and take notes on where you should make changes.
It is easier to make the changes if you write down the time code. For example, you can note down the transitions, text, filters, and other enhancements that you want to make on the video.
Before you add anything to a clip, first trim the unnecessary parts in the video. Unnecessary parts that you can trim in the video include awkward moments, silences in the middle of the speech, and any silences in the beginning/end of the video.
Related: Best Blogging Tools And Tech For Bloggers
Sometimes, you may forget to show a necessary picture or slide in your screencast. This mistake can be fixed by importing the picture/slide into the timeline and making the necessary notes on it so that your audience knows.
Whatever screencast you make, always keep it simple and be consistent with the style. You can pick one or two transitions to spice up your video. You can also add text and callouts to help your audience understand the video content better.
But keep in mind not to overdo it otherwise you will lose the attention of your audience.
Export Your Screencast
The last part is to export the screencast as a compressed video file. It is recommended that you save your screencast in MP4 as it keeps the video file small and also makes it convenient for downloading and watching on mobile devices.
MP4 videos are easier to upload and share on various video sharing and social media platform.
Keep Reading
- How To Become A Millionaire
- Blog Income Report – Why I Spent $23,000 On My Blog Last Year
- How To Start A 6 Figure Blog For Free
- 12 Clever Ways To Promote Your Blog And Drive Traffic After You Hit Publish
- Affiliate Marketing For Beginners – Make Affiliate Marketing Websites
Follow along on Instagram!


