Keywords on Pinterest: How to Find The Perfect Ones For Your Brand

Are you using the right keywords on Pinterest to attract traffic and customers to your business? Do you know how to find the best keywords on Pinterest for your brand?
I’ll show you how, in this guide.
As an affiliate partner of various brands and sponsored content, HerPaperRoute may earn commission on qualifying purchases. Disclaimer
Pinterest is a major free marketing tool for business owners. But most entrepreneurs don’t know how to use it to its full advantage.
Because, there’s one big thing about Pinterest that most entrepreneurs tend to forget (one super important thing, I might add): Pinterest is a search engine!
In fact, it’s more so a search engine than a social media platform. It runs just like the Google search engine, only it’s more of a visual-based search platform.
As Pinterest functions as a search engine, we need to use SEO strategies on Pinterest, just like we do on our websites. And just like your website and blog SEO, your Pinterest SEO comes back to one big thing: Keywords.
Keywords are your secret sauce for getting found on Pinterest. When you use the right keywords in the right places, you can literally watch your account grow overnight.
But how do you find the perfect keywords on Pinterest, and where should you put them? That’s what today’s post is all about!
How to find high-quality keywords on Pinterest

If you know me, you know that I LOVE Pinterest!
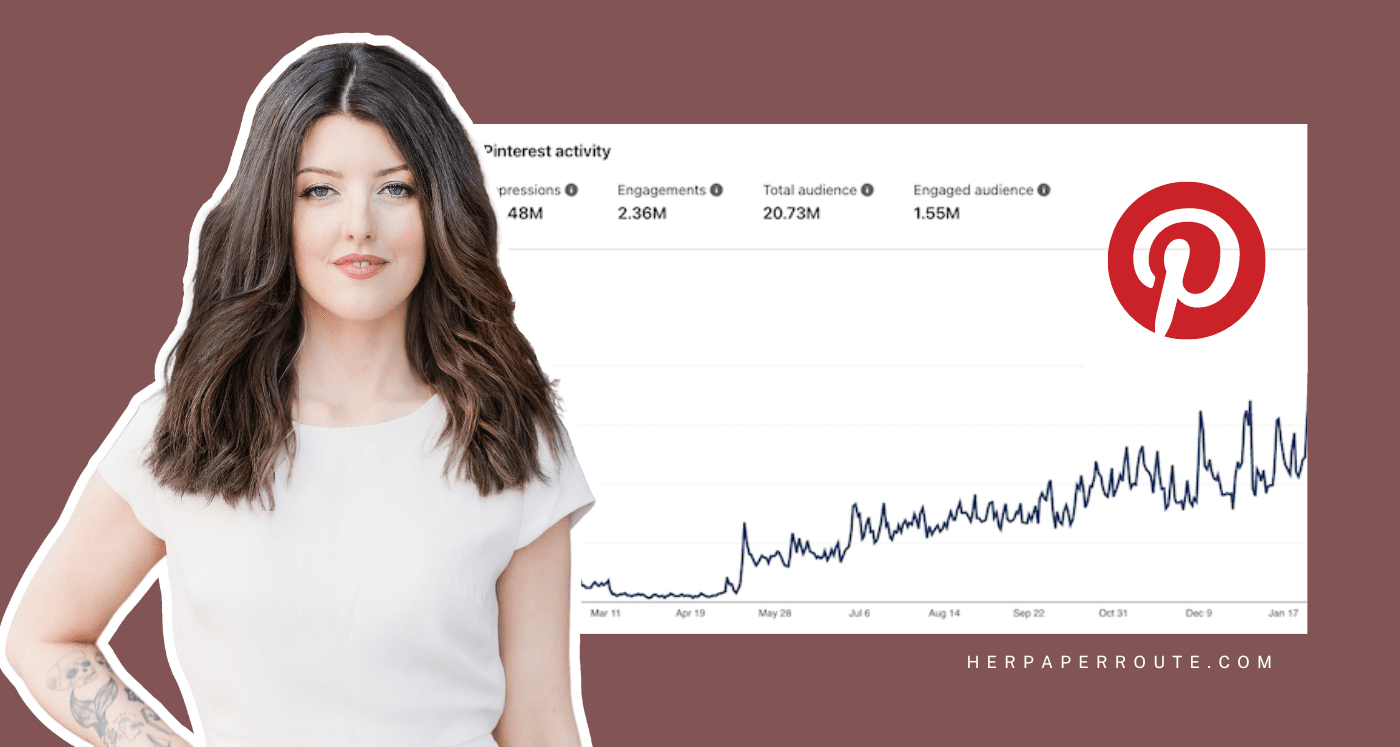
I run several Pinterest accounts, including some big ones that get millions of clicks to my various niche sites, as well as an account for HerPaperRoute (this site).
Follow me here!
It’s an area I’ve covered extensively on my blog in the past. For instance, I’ve shared 75 epic tips for Pinterest, my hack for how to make money on Pinterest, and even how to explode your traffic by designing VIRAL PINS!
But to this day, I’ve never written a post that is 100% dedicated to utilizing keywords on Pinterest.
Never fear, my dear friend – I’m bringing that post to you today!
If you’re new to Pinterest, today’s post has everything you need to start driving traffic to your website from Pinterest super quickly and easily.
But first, why is Pinterest so important for entrepreneurs?
Pinterest is the place to be if you’re serious about growing your traffic, community, email list, and income.
Sounds too good to be true, right? Like, can I really get all of that from one platform? Yes, you absolutely can — and I’m going to show you how!
How To Use Pinterest SEO and Keywords On Pinterest
Every blogger eventually gets to the point where it’s time to dive headfirst into learning more about implementing the best SEO practices.
When I started getting serious about Pinterest SEO, it was mind-blowing when I first saw one of my pins pop up during one of my random searches in the #1 slot and I wasn’t even looking for it.
Although some keywords that you already use on your website will also work on Pinterest, there’s an even easier way to find the perfect keywords for Pinterest.
Drumroll please…. the Pinterest search bar!
Here’s my super quick, 3-step smart-search hack that will generate dozens of relevant keywords you can then use on your Pinterest account:
Step One
First, download the free Pinterest keyword planner below:
I created a spreadsheet in Google Drive as part of my Pinterest Planner, that I use to record my findings. My Pinterest Planner is available to you for FREE in my resource library.
Use the spreadsheet to create your pin descriptions and keep track of:
- Keywords from the Pinterest search bar results
- Keywords from Kwfinder
- People also ask (From Google search results – mid way down)
- Related Searches (Bottom of Google search results)
- Organize multiple pin descriptions for each blog post
- Hashtags from the Pinterest search bar or from niche-related pin descriptions of other bloggers
Once you have the Pinterest planner open, choose a word or phrase that’s directly related to your niche. For example, I’ll be using the phrase “blogging tips.”
Step Two
Navigate to Pinterest and type your word or phrase into the search bar and press enter.

Make sure that you have selected “all pins” from the dropdown, and not just “your pins.”
Use the search terms as your keywords when:
- Titling your blog post
- Writing your blog post – Include them throughout your content.
- Developing Pin descriptions – Place the title at the beginning of your pin description
- Creating a pin image – Place the title on your image.
- Naming your Pinterest Boards. – Boards//People//Hashtags are searchable too
- Saving an image – Name the file using your blog post title
I can’t live without the search bar in Pinterest, my new favorite SEO Tool, Kwfinder, and of course, good ole Google for researching the best keywords to use for titling my blog posts and creating content.
I use them all in conjunction when creating blog content and Pin descriptions.
Be sure to follow me on Pinterest for lots more tips!
Step Three
Look at the words and phrases that pop up in rectangles just underneath the search bar (see pic below).

What are these words and phrases, you ask?
These are the other related words and phrases people on Pinterest most commonly search for when they also search for your original search term.
In this case, “blogging tips” generates related terms such as “for beginners” “successful” “and tricks” and so on.
This is the start of your new list of the perfect keywords to use on Pinterest for your business. Genius, right?
The keywords are ranked in order of popularity from left to right, and you can click the arrow over on the far right side of the page to see even more relevant keywords.
You can also click on any rectangle to explore popular words and phrases related to that term.
Multiple tiles beneath the search bar should pop up. (If your keywords have multiple, related popular search terms.)
Within just a few minutes, you’ll have compiled a list of 30-50 keywords that will help you grow your Pinterest account like crazy.
It’s worth it to take the time now to research keywords for your blog posts as well as for pins so you don’t have to go back and redo your previous posts, images/pins, and pin descriptions.
If you already have a ton of published posts, just create a new pin with better SEO. Now you’ll have a new pin image to revive your older content, to share on Pinterest.
New pins = New content in the eyes of Pinterest, which is a plus!
Pinterest is a visual search engine which means it’s easy to see the search terms that people are looking for on Pinterest.
New to Pinterest? I created a course for beginner bloggers to get your Pinterest account set up properly all while saving you precious, boatloads of time. Check it out
How To Use Keywords On Pinterest To Grow Your Business: Step-By-Step Guide
Now that you’ve found your keywords, the next question is: Where do you put ’em?
Well, a few different places. Six, in fact.
1. Six places to use keywords on Pinterest
- 1. Your Business Name on your profile, if there’s room (there’s now a character limit!)
- 2. Your bio
- 3. Your board titles
- 4. Your board descriptions
- 5. Your pin descriptions
- 6. The titles of your blog posts (because, rich pins, baby!)
- 7. Throughout your actual blog post
Next, it’s time to prime your Pinterest account, to get the most out of your keyword strategy.
2. Create a Pinterest for Business account
The perks of having a Pinterest Business account include:
- Being able to access Pinterest analytics
- Being able to enable rich pins
- Using a business name as opposed to a personal name on your profile
- Being able to run promoted pins (Pinterest ads)
When you create your Pinterest account, make sure to select the “Business” option. If you already have an existing account, you can convert it to a business account in your Pinterest settings.
3. Set up Rich Pins
Rich pins are more eye-catching than non-rich pins because they have a big, bold title underneath the image.
They can be a little tricky to set up, but the process essentially involves adding a bit of code to your website and then entering the link to one of your blog posts into the Rich Pin Validator.
4. Set up your Pinterest profile for success
In your Pinterest bio, write a 2-3 sentence description of yourself and what you do, incorporating keywords where possible. Next, upload a branded photo of yourself.
Be sure to enter the link to your website and then verify your website with Pinterest.
This is done by taking a code Pinterest gives you and adding it to the header section of your website.
If you use WordPress, most themes come with an easy way to add code to the header and footer right within the customizer. But if your theme doesn’t have them I suggest using the Insert Headers and Footers plugin.
5. Create 10-15 niche-relevant boards
As n entrepreneur, you’ll want to create boards for topics that your readers are interested in or need help with.
This is how you attract the right kinds of people to your account. As an example, if I were a beauty business, I would create boards like:
- Makeup Tips
- Skincare Tips
- DIY Beauty Products
When you create a new board, you’ll need to click on it from your profile to make edits.
Be sure to include some niche-relevant keywords in the board name and description.
Especially if that topic is something you are going to be writing about a lot. Give those pins their own board!
You should also select the appropriate category for the board (there are around 30 options to choose from).
You also need to have an entire board solely devoted to your own content, products, services, and freebies.
Make sure this board is in the top row of your Pinterest profile!
To move boards around, simply click on the board and hold your mouse down, then drag the board where you want it to go and release.
Best practices for naming your Pinterest Boards:
- Research Keywords to see what types of content people are searching for, related to your niche.
- Create board names using the keyword results from your search
- Create board covers overlayed in text with your board name
- Use keywords to develop your board description
- Choose a category for your board. Try to find something close to what your content is about vs. choosing “Other.”
6. Join group boards in your niche
Group boards are an absolute necessity if you want to grow your Pinterest account and traffic rapidly.
In this blog post I break down the nuts and bolts of finding and joining group boards, so head there when you’re done with this post to get the full scoop.
7. Create A Blog Post Using Your Pinterest Keywords
After the Pinterest keywords, pin descriptions, and hashtags have been researched and recorded, the writing process begins.
Start writing a new blog post (or update an old one) and place your keywords throughout the article.
Ensure that any images you include in your article also include that keyword in its file name, and alt tag.
8. Create a Pinterest template
To save time, create a pin template in Canva that you’ll use to create pins for each of your blog posts, email list freebies, products, services, etc.
Your pin template should be:
- Long and vertical (a 2:3 width-height ratio works best)
- Branded to match the fonts and colors on your website (but don’t be afraid to mix up your designs from time to time – Pinterest actually recommends this, as pinning a design that is too similar all the time will look spammy.)
- Bold and eye-catching – think bright colors, bold fonts, or contrasting colors
Pins should also have your domain name or logo on them, and some text that explains what the blog post, product, or freebie is all about.
Generally, this text will include the title of your blog post, or something similar.
9. Design 3 pins for each of your 10 most popular blog posts
Look through your Google Analytics to determine your 10 most popular blog posts to date.
Then, create 3 pins for each of those posts and upload them to Pinterest.
Moving forward, create 2 or 3 pins for every blog post you publish.
Switch up the colors, headlines, and pin descriptions to see what attracts the most attention and garners the most re-pins and clicks (you can find this information in your Pinterest Analytics).
10. Hop on Pinterest every day and re-pin 20-30 pins.
Re-pin the pins from your home feed and re-pin pins between your own boards.
For example, once you’ve shared your new blog post to the board that houses your blog post pins, re-pin it to other relevant boards and group boards you belong to.
Set a goal to have at least 50 pins on each of your boards, and you can continue to build them up from there.
You should also regularly pin your blog posts to the group boards you belong to.
11. Use tailwind to automate the pinning process.
Tailwind will help you save a huge amount of time when it comes to Pinterest. Especially it you take advantage of their Communities feature.
You can use Tailwind to schedule pins to various boards, join “communities” in your niche to help expand your reach, and even loop pins so they automatically get re-shared to your boards.
You can learn more about how Tailwind and start your free trial right here.
12. Follow 100 people and/or boards in your niche
Find accounts and boards in your niche by typing niche-relevant keywords into the search bar at the top of Pinterest.
Then simply filter into “people” or “boards” up at the top of the search results.
Following these accounts and boards will make sure you always have tons of niche-relevant content in your home feed to re-pin. While also growing your Pinterest follower count because some of the people you follow will follow you back.
If your website is on WordPress, all you have to do is follow these steps to set up rich pins.
13. Write click-worthy, keyword-rich descriptions for each pin
Pin descriptions need to be intriguing and click-worthy, and they’re a great place to incorporate more niche-relevant keywords, boosting your pins’ ranking in the search.
I suggest keeping your pin descriptions between 2-3 sentences long. You can also include relevant hashtags that your audience might be searching for on Pinterest for an extra SEO boost.
14. Add a “Pin It” button and a follow button on your website
Give your readers an easy way to share your blog posts to Pinterest by installing a “pin it” button that pops up whenever someone hovers over an image on your website.
A simple WordPress plugin to achieve this is JQuery Pin It Button for Images.
Squarespace has a built-in “pin it” button that you can enable by going to Marketing >> Pinterest Save Button.
Your website should also have social media follow buttons that link to your various social media platforms (including Pinterest, obviously!).
You can place these icons in your sidebar, the top navigation menu, the footer, or all of the above.
15. Keep Updating Your List Of niche-relevant keywords
You’ll use this set of keywords to boost your SEO on Pinterest. Keywords will be things like, “blogging tips” or “easy dinner recipes.”
Use the free Pinterest keyword planner above to quickly and easily find the best keywords for your account and niche, and then use the tips above to incorporate them into your account.
Seems simple enough, hey? That’s because it is!
Using Keywords on Pinterest – Conclusion
Time to take action! Open up your Pinterest keyword planner, head over to Pinterest, and use the hacks from today’s post to find your perfect keywords.
And then start incorporating them into all the places listed above.
Don’t wait another minute to start working on your Pinterest account.
Within just a few months, Pinterest could be driving thousands of pageviews per month to your website, email list, and offerings!
You can also make money with affiliate marketing on Pinterest!
Pinterest SEO can take a little time to start showing results. It takes time for a pin to start ranking in the search results for your keywords.
But stick with it, and before long your profile, boards, and pins should be ranking high up in the Pinterest search. Go you!
Have you been using keywords on your Pinterest account? Are you ready to start? What questions do you have about it? Let me know down below — I’d love to help you out.

Follow along on Instagram!


